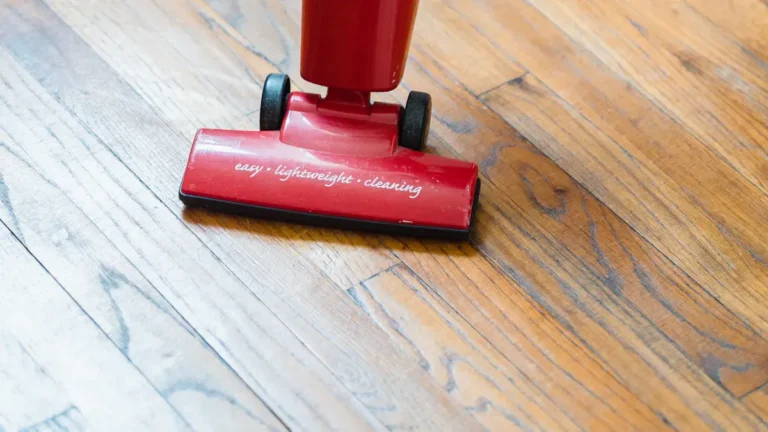
Imagine you’re ready to tackle that pile of dust and pet hair in your living room, but your vacuum cleaner just won’t cooperate. Frustrating, right? You’re not alone! Over 60% of American households report at least one vacuum malfunction within five years. Regular maintenance is key to keeping your vacuum running smoothly. Common problems like loss of suction, brush roll issues, and excessive noise can disrupt your cleaning routine. Let’s dive into some vacuum cleaner troubleshooting tips to help you get back on track!
Key Takeaways
Regularly check for clogs in hoses and filters to maintain suction power.
Clean or replace vacuum filters at least once a month to ensure optimal performance.
Inspect the brush roll for tangles and debris to improve cleaning efficiency.
Address unusual noises immediately to prevent further damage to your vacuum.
Make vacuum maintenance a habit to extend its lifespan and avoid common issues.
No Suction

Symptoms
When your vacuum cleaner has no suction, you might notice a few telltale signs. Here are some common symptoms to watch for:
The vacuum doesn’t pick up dirt or debris effectively.
You see dust and pet hair left behind after cleaning.
The vacuum feels lighter than usual, indicating a lack of airflow.
You may hear unusual sounds, like the motor working harder than normal.
These symptoms can significantly affect your cleaning performance. In fact, reduced suction can lead to inefficient dirt and dust removal, making your cleaning tasks more challenging.
Causes and Solutions
Several factors can cause your vacuum cleaner to lose suction. Here are some common culprits and how to fix them:
Clogs: Check the hose, wand, and attachments for any blockages. A clogged hose can severely restrict airflow. Clear any obstructions using a long, flexible brush or rinse with water if the hose is washable.
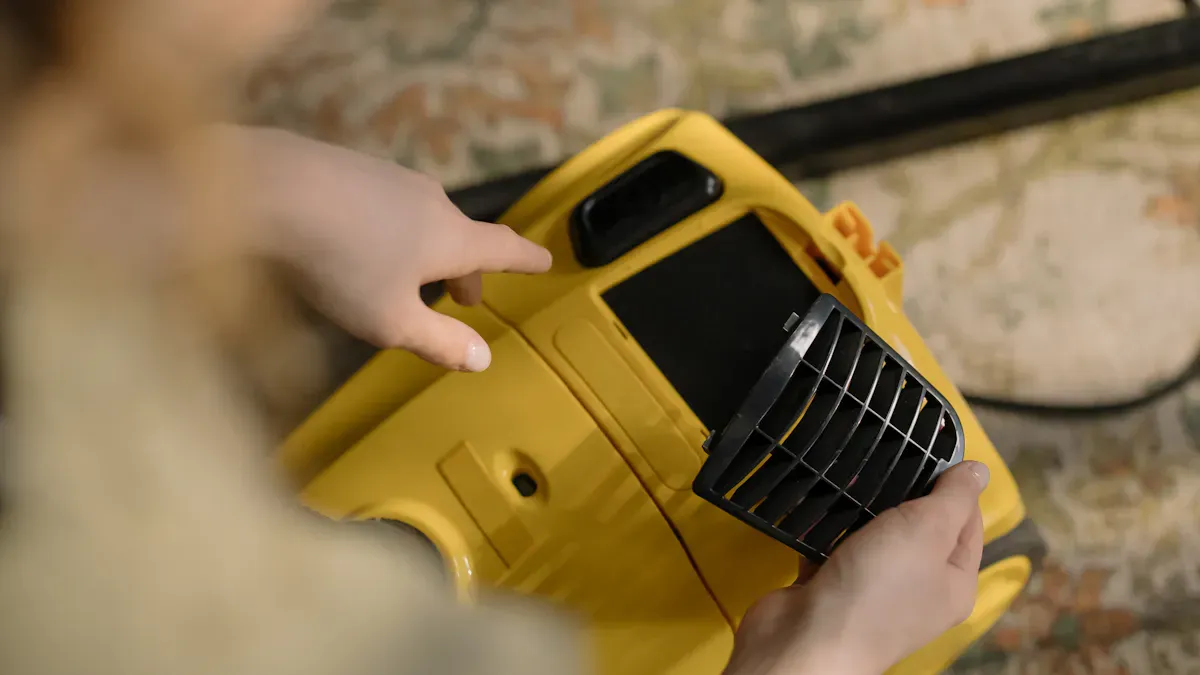
Dirty Filters: A dirty filter can choke your vacuum’s performance. Clean or replace the filter to restore suction power. Regular maintenance of your filters can prevent this issue from recurring.
Hose Issues: Ensure the hose is securely connected and free from damage. A loose or damaged hose can lead to weak suction. If you find any cracks or tears, consider replacing the hose.
Collection Bag: If your vacuum uses a bag, check if it’s full. A full bag can block airflow and reduce suction. Replace it if necessary.
To help you understand how suction levels affect cleaning performance, take a look at this table:
Suction Level (AW) | Effect on Cleaning Performance | Additional Notes |
|---|---|---|
Above 100 AW | Generates turbulent eddies that scatter fine dust | Counterproductive for hard floors |
65–78 AW | Optimal for hard-floor extraction | Efficient dirt capture |
If you experience weak suction, follow these troubleshooting steps:
Check for clogs in the air path.
Clean or replace the filters.
Ensure the dust bag or canister is not full.
By addressing these issues, you can restore your vacuum’s suction and improve its cleaning efficiency. Remember, regular maintenance is key to preventing these problems in the future!
Brush Roll Issues
Symptoms
When your vacuum cleaner has brush roll issues, you might notice several signs that indicate something’s wrong. Here are some common symptoms to look out for:
The brush roller isn’t spinning. This could mean there’s a problem with the belt, the motor, or debris blocking the brush.
You see poor cleaning performance. If the brush roll isn’t working, it won’t agitate dirt effectively, leading to dirt and debris being left behind.
You might hear odd noises coming from the vacuum. These sounds can signal that the brush roll is jammed or that the motor is struggling.
A malfunctioning brush roll can severely diminish your vacuum’s ability to clean. It plays a crucial role in lifting dirt from carpets and other surfaces, so addressing these issues promptly is essential.
Causes and Solutions
Several factors can lead to brush roll problems. Here are some common causes and how to fix them:
Clogs and Debris: Hair, string, and other debris can wrap around the brush roll. This buildup can prevent it from spinning properly. Regularly check the brushes every 1-2 months to remove any tangles. If you notice a burning smell or a non-moving beater bar, it’s likely due to this issue.
Belt Problems: The cogged belt may be damaged or misaligned. If the belt is broken or stretched, it won’t drive the brush roll effectively. Inspect the belt for any signs of wear and replace it if necessary. A misaligned belt can also hinder the brush roll’s operation, so ensure it’s properly positioned.
Excessive Friction: If the brush roll is jammed, it can cause excessive friction and strain on the vacuum cleaner belt. Cleaning the brush roll can resolve this issue. Make sure to clear any blockages in the hose to ensure proper airflow.
To troubleshoot brush roll issues effectively, follow these tips:
Regularly check the brushes for tangled hair and debris.
Clear any blockages in the hose to maintain airflow.
If the beater bar doesn’t move, inspect for tangles causing friction, which can lead to belt damage.
By staying on top of these maintenance tasks, you can keep your vacuum cleaner running smoothly and avoid more significant problems down the line. Remember, knowing how to fix a vacuum when it has brush roll issues can save you time and frustration!
Excessive Noise
Types of Noises
When your vacuum cleaner starts making strange sounds, it can be a sign of trouble. Here are some common noises you might hear:
Sudden rattling, clanking, or grinding: These sounds often indicate something is loose or damaged inside.
High-pitched squeals or screeches: This noise usually points to a failing motor or a problem with the brush roll.
Louder-than-usual humming or whirring: If your vacuum sounds like it’s working harder than normal, it might have airflow restrictions.
Rhythmic thumping or vibrating: This can suggest that the brush roll is jammed or that there’s an issue with the motor.
Causes and Solutions
Understanding the causes of these noises can help you troubleshoot effectively. Here are some frequent culprits:
Cause of Noise | Description | Suggestion |
|---|---|---|
Fan blade misalignment | The fan blade may not be properly assembled, causing friction. | Check for collisions and disassemble if necessary. |
Poor lubrication of bearings | Worn or poorly lubricated bearings can lead to noise due to looseness. | Replace bearings and ensure proper lubrication. |
Broken muffler element | The foam silencing layer may be damaged or missing. | Repair with glue or replace the silencing layer. |
Blocked suction channel | A blockage can cause the motor to run overspeed, increasing noise. | Shut down and remove the blockage immediately. |
If you want to reduce the noise your vacuum makes, consider these solutions:
Adjusting the power: Lowering the power setting can significantly reduce noise during operation.
Isolation technology: Implementing advanced sealing and noise reduction technologies can help minimize sound levels.
Motor vibration isolation: Installing shock absorbers on the motor can effectively reduce vibrations that contribute to noise.
By addressing these issues, you can improve your vacuum’s performance and enjoy a quieter cleaning experience. Remember, regular maintenance is key to preventing excessive noise and ensuring your vacuum runs smoothly.
Common Vacuum Cleaner Problems
Overheating
If your vacuum cleaner starts to overheat, it’s a sign that something’s not right. You might notice that it shuts off unexpectedly or feels unusually hot to the touch. Frequent overheating can indicate that your vacuum may need replacement. It often means the motor is nearing the end of its lifespan, which can lead to decreased efficiency and even fire hazards.
Here are some common causes of overheating:
Dirty Filters: Dust and debris can block airflow, causing the motor to work harder.
Clogged Cyclone Assembly: Excessive dust hampers airflow, straining the motor.
Clogged Brush Bar: Jammed rollers can cause overheating.
Faulty Interiors: Worn-out components may contribute to the issue.
To troubleshoot overheating, follow these steps:
Turn Off and Unplug: Immediately turn off the vacuum and unplug it to prevent further damage.
Let it Cool: Allow the vacuum to cool completely before inspecting it. This could take 30 minutes to an hour.
Clean and Check Filters: Remove all filters and clean them according to the manufacturer’s guidelines. Replace them if necessary.
Inspect for Blockages: Check hoses and nozzles for clogs and clean them to ensure proper airflow.
Empty the Canister or Bag: Regularly empty the dust canister or replace the bag to prevent overheating.
Motor Troubleshooting: If overheating persists, consider professional servicing or motor replacement.
Burning Smells
A burning smell from your vacuum can be alarming. It often indicates a serious issue that needs immediate attention. Here are some typical causes of burning smells:
Clogged Filters or Hoses: Blocked airflow can cause the motor to overheat, leading to a burning smell.
Overheating Motor: Extended use, especially on high settings, can produce a hot smell.
Belt Issues: A worn or misaligned belt can create friction, resulting in a rubbery burning odor.
Blocked Brush Roll: Debris can strain the motor, causing a plastic-like burning smell.
Electrical Problems: Damaged wires or cords can emit a sharp burning smell, indicating a fire risk.
If you notice a burning smell, stop using the vacuum immediately. Check for clogs and inspect the belt for wear. Addressing these issues quickly can prevent further damage and keep your vacuum running smoothly.
By following these vacuum troubleshooting tips, you can tackle common vacuum cleaner problems effectively and maintain your device for optimal performance.
In this blog, we covered essential troubleshooting tips to help you tackle common vacuum cleaner issues. Remember to check for clogs, clean or replace filters, and inspect the brush roll regularly. These simple steps can keep your vacuum running smoothly and extend its lifespan.
To prevent problems, make maintenance a habit. Here are some quick tips:
Clean filters monthly.
Empty the dust bag or canister regularly.
Inspect hoses for blockages.
By staying proactive, you can avoid many headaches down the road. Have you faced any vacuum troubles? Share your tips or experiences in the comments below!
FAQ
What should I do if my vacuum cleaner smells like it’s burning?
If you notice a burning smell, stop using the vacuum immediately. Check for clogs, inspect the belt for wear, and ensure the brush roll isn’t jammed. If the smell persists, consider professional servicing.
How often should I clean my vacuum filters?
You should clean your vacuum filters at least once a month. If you have pets or a lot of dust, consider cleaning them more frequently. This helps maintain suction and prolongs your vacuum’s life.
Why is my vacuum making a loud noise?
Loud noises can indicate a problem. Check for blockages in the hose or brush roll. A worn belt or motor issues can also cause excessive noise. Address these problems quickly to avoid further damage.
How can I prevent my vacuum from overheating?
To prevent overheating, regularly clean filters and empty the dust canister. Avoid using the vacuum for extended periods without breaks. Ensure airflow isn’t blocked by checking hoses and brush rolls.
When should I replace my vacuum cleaner?
Consider replacing your vacuum if it frequently malfunctions, has low suction despite maintenance, or shows signs of significant wear. If repairs cost more than a new vacuum, it’s time for an upgrade.